The basics of how to downsize your home.
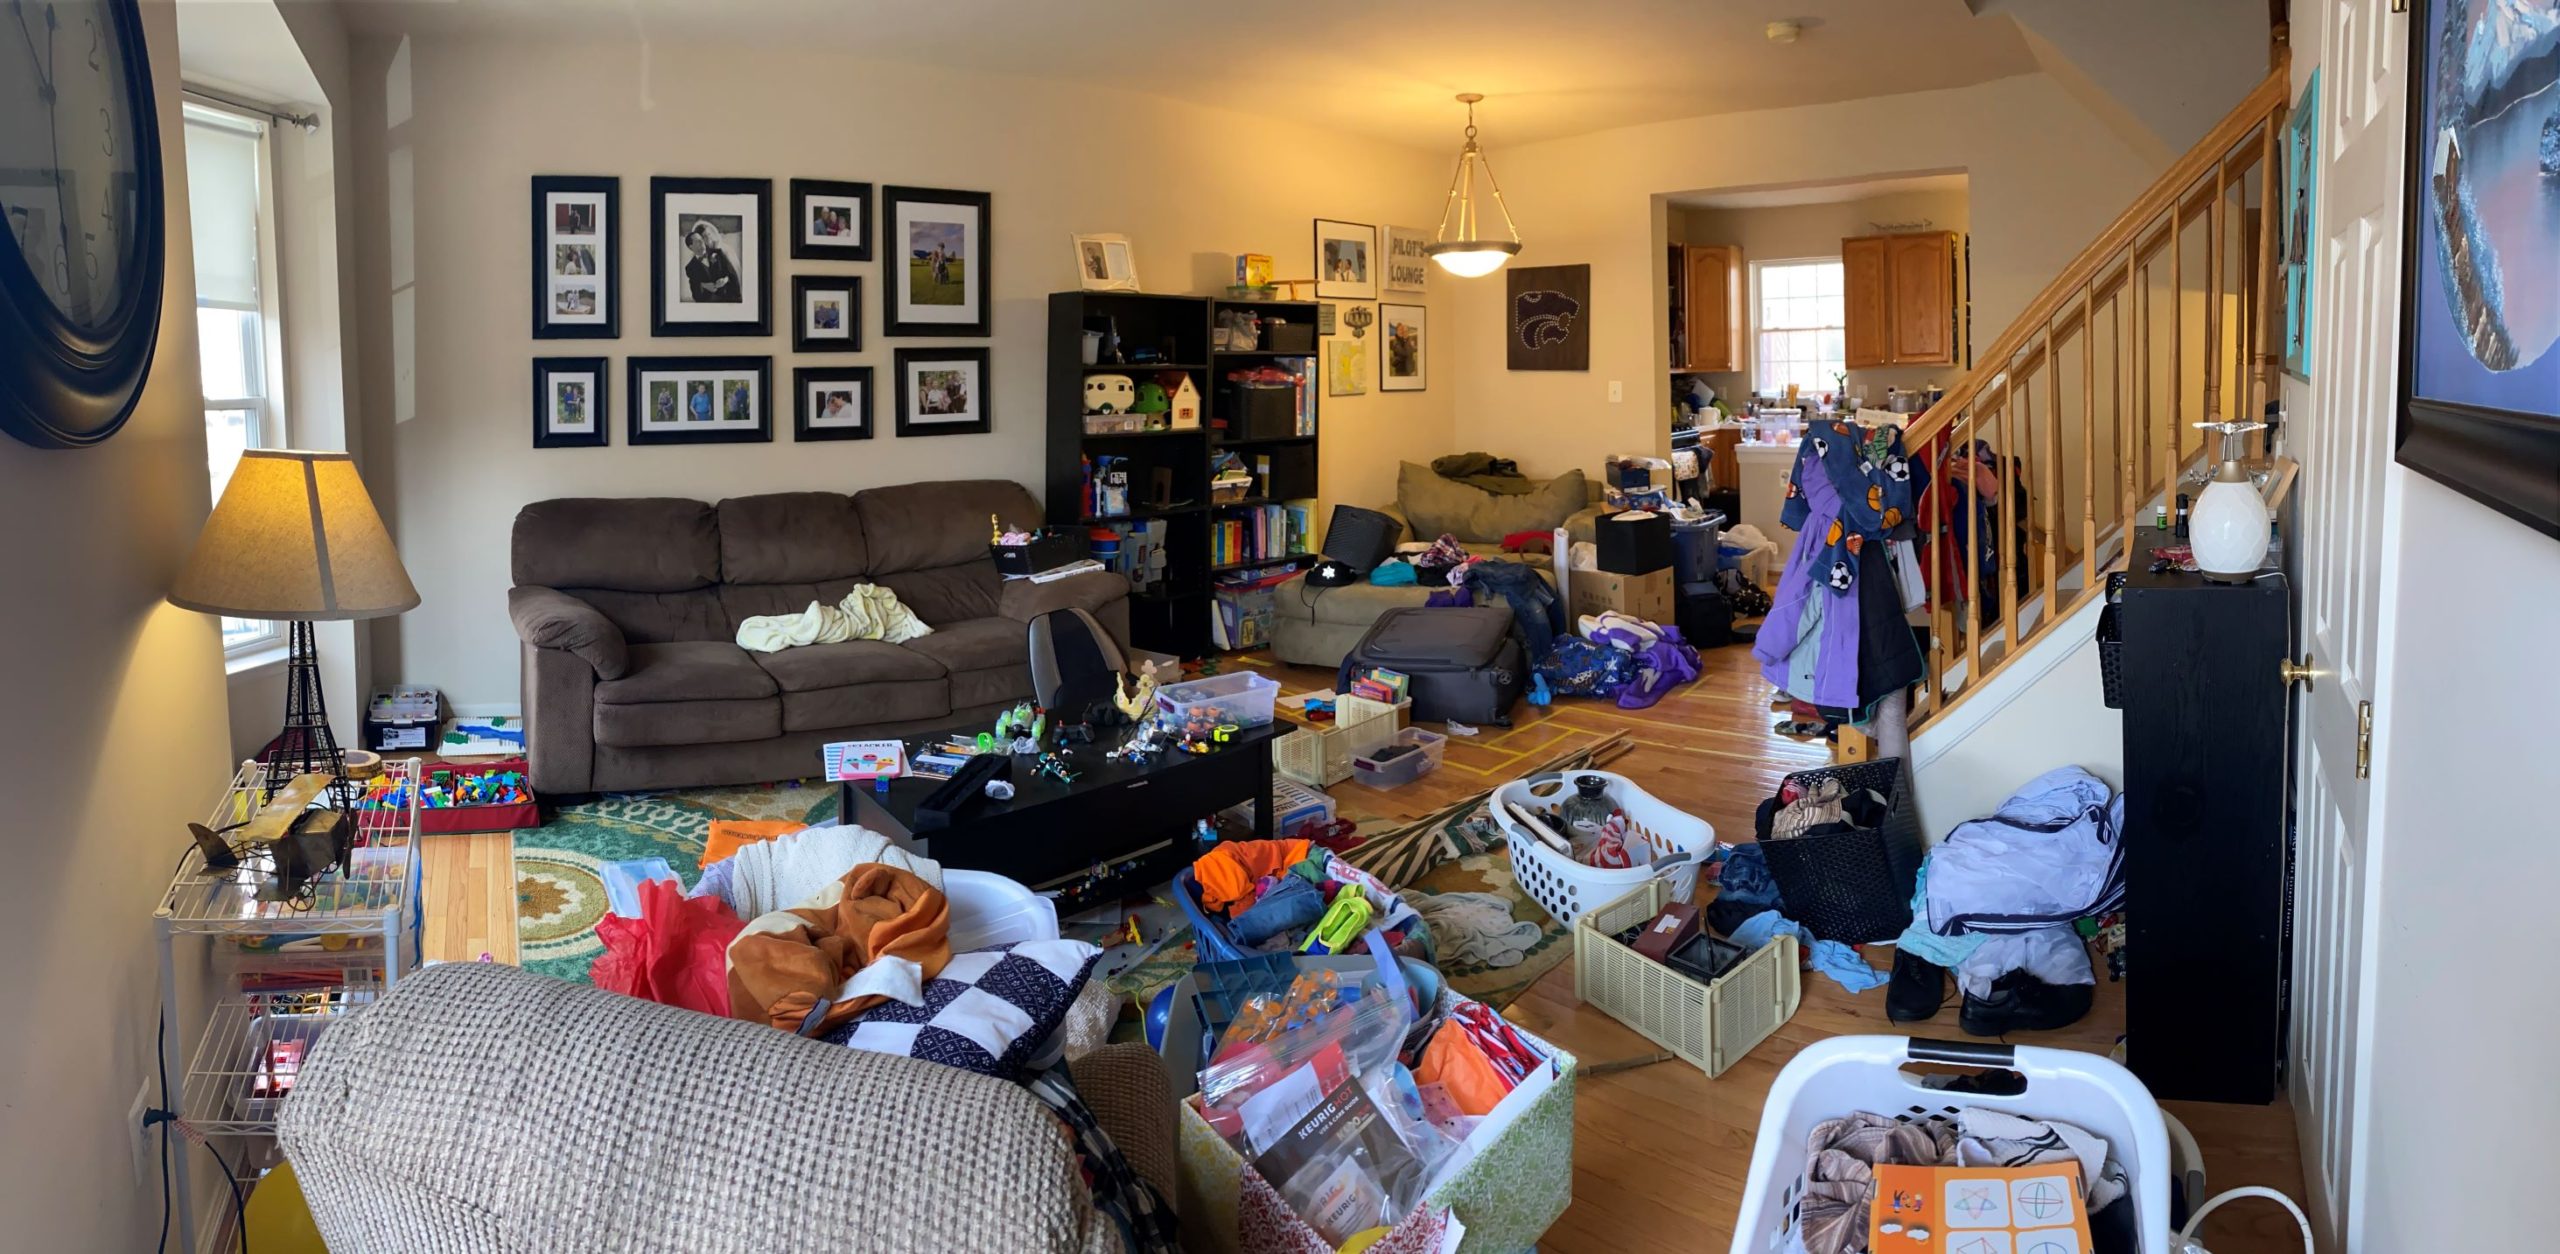
This month’s focus is on downsizing and I’ll be sharing tips and tricks to help you purge. Some people downsize temporarily, while others are changing their lifestyle permanently. Your purpose for downsizing will help determine items keep or purge. No matter what your reason, read on as I share some tips to help you with the process.
My definition of downsizing versus organizing:
- I define downsizing as decreasing the number of items you have.
- I define organizing as putting the decreased number of items in a useable, tidy format or arrangement for use.
I suggest to downsize before you organize. Downsizing is a process, but it’s as easy as 3-2-1-DONE! Read on as I explain my method I have perfected over decades of moving.
My Method: 3-2-1-DONE!
3-Three Piles: Like it, Love it, Leave it
I encourage you to start in one area of your home and create three piles. There are some things you know you’ll want to keep or purge, but what about the “maybe” items you aren’t sure about? Ask yourself a few questions:
- How often/when do I use this?
- Will this item fit in my new lifestyle or home?
- Is this something I could donate, sell or give to someone who might appreciate it?
Like it
This is the maybe pile. I encourage this pile because when you’re downsizing, you’re making a LOT of decisions, which can be fatiguing. It’s important to give yourself this pile of things you’re not ready to make a decision on. As you go through the process of downsizing, you will get better at knowing what you want to keep and purge. When you’re at a place you can decide on those items, go back to the pile and try to put the items in either the love it or leave it pile.
Love it
These are the must-have items you LOVE and want to keep.
If you’re moving to a new home and you’re ready to pack boxes, I highly recommend a color-coding system. I have moved pregnant twice. Since I was not allowed to pick up boxes, I came up with an easy way to make sure all the boxes for each room ended up together by using a simple color-coding system. (Maybe I played too much Candy Land with the kids and got this idea from the game of colored square tiles?!) Once I packed the boxes in a given room, I took a marker or crayon and colored a dot on each side of the box which would correspond with a room of the house. (Red, Orange, Green, Blue, Purple, Black—I SKIPPED Yellow because it was hard to see that color on a brown box.) After the box was full, color coded, and ready, my hubby would move the box for me. When we moved into our new home, I had color code key, showing which color was for which room so friends or movers could easily see the color-coding dot system and pile the boxes in the given room. It worked great. Hope that helps you in a future move!
Leave it
These are the items you are purging because you don’t need or want them anymore. You may sell, donate, or trash the items. I always encourage people to donate, when possible, instead of throwing useful items in the trash. If you have time for a garage sale or to sell things online, great. However, I caution you if you’re on a short timeline to list only the large or very expensive items for sale and donate the rest. Sometimes you can find local people to list things online for sale for you, which can also be a great way to outsource some of this work which can be time consuming to coordinate pick up or drop off of items. The bottom line is that if you have a tight timeline, you just need things GONE!
Note: OHIO Rule-Only Handle It Once
If this is your first or a large downsizing project like a home, I do not recommend using this rule because you’re going through a LOT of items. This is a rule I suggest when you’re down to a smaller project or possibly when working on paperwork that you’re purging through. Paperwork is a great place to use this rule because if you’re going through bills or old mail, it is easier to make a decision on quickly and only save what is critical, then purge the rest.
2-Two is too many! Get rid of duplicates.
When we downsized from a house to a townhome, we didn’t get rid of many kitchen items. However, when we downsized from our townhome to our RV to hit the road full-time, I had a LOT more decisions to make as far as purging kitchen utensils. I had at least ten spatulas I used often. I decided to keep four because they were used for different purposes. I often bake oatmeal with a specific spoon spatula, use a large scraper spatula for other baking, as well as a small one for getting into little jars. I was very specific about the spatulas I kept because I physically didn’t have space for a whole drawer of them. I also do not have two of the same size spatulas now.
If you find yourself with multiples of the same type of item like I did with kitchen spatulas, ask yourself if these items are serving the same function and if you need both of them. It is likely that you don’t actually need both.
Another helpful tip I picked up from The Minimalists on their podcast is the 20/20 Rule:
If you can replace it in 20 minutes for $20 or less, you probably don’t need the item.
In over two years full-time on the road, I can say that I have only replaced maybe a few items I purged and needed to rebuy. It is tempting to keep ALL the things, but when space is limited, you’d be surprised on how little you actually use or need in your daily life. If you’re still NOT sure about the items, consider putting the items in a PAUSE PILE to see if you actually need to pull the item out for use over a period of time. If you find yourself not needing the item, then you’re probably safe to donate it. Worst case scenario, you donate the item and you go buy a new one when needed.
Another consideration is the cost of transportation. If you’re wanting to keep your furniture and pay to transport it to your new home across the country or the world, what is the cost to do this? It may or may not be physically or financially possible to do this. It may be cheaper to sell the furniture and buy new or used pieces when you arrive at your new home.
Additionally, make sure to contemplate the cost of storage. If you’re paying $50-100 per month to store the items you don’t want to get rid of, I would encourage you to do the math. At $100 per month to store said items, in one year that’s $1200 you’re paying to NOT use the item. Can you replace the item for that price or less? If the answer is yes, then donate or sell the item and rebuy it when you need it.
1-One area at a time
Focusing on one area at a time can be a useful strategy for a few reasons. If you’re moving, for example, and you know you’re not going to need things like your crock pot and certain pans, it’s easy to pack those away or decide if you are going to purge those items before you relocate.
When we downsized from our townhouse to the RV, it was blaringly obvious that we were not going to keep most of the items in any room of our home. That being said, I chose to focus on one room at a time and think through what I DID need to keep to take with us in the rig as well as what I did NOT need to keep. For example, we chose to donate almost all of our dishes, cups, and mugs. In the RV we needed space-saving items that stacked or nested. We bought items specifically for our lifestyle such as cups that wouldn’t break easily and durable Corelle plates and bowls.
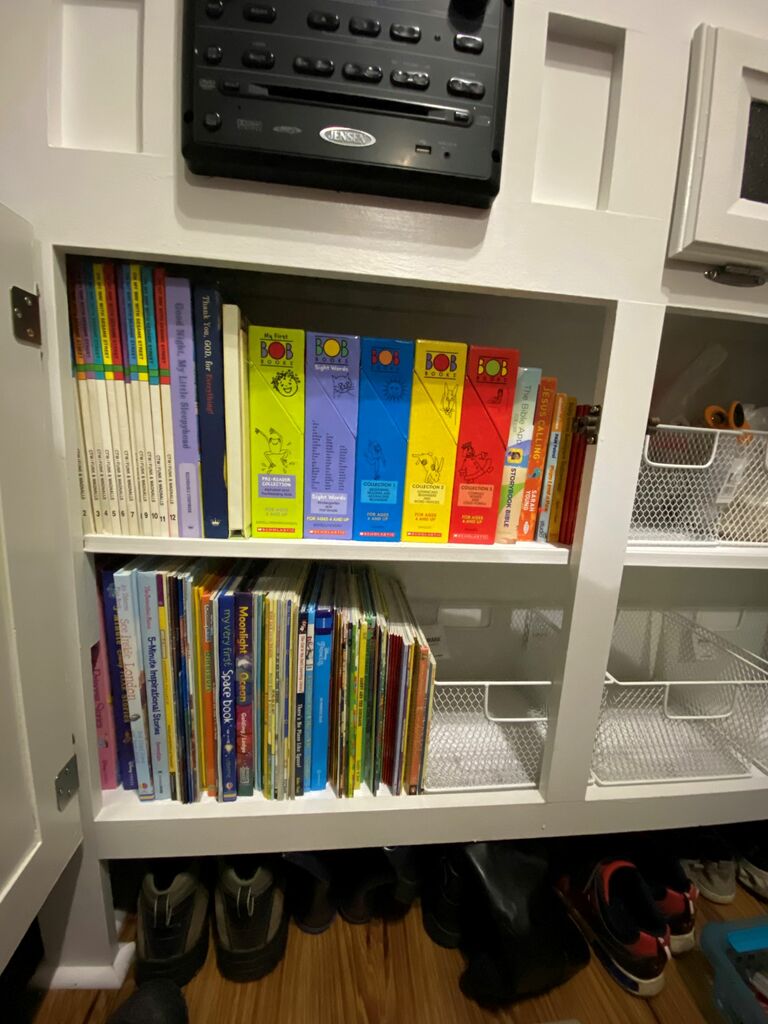
When going through each room in your home, try to make mini categories of things to go through when you get a pocket of time. One area I chose to highly involve my children in when downsizing from our townhouse into the RV was their books. We needed to go from two bookshelves-full to two milk crates, which is all we had room for in our rig. THIS was a big task and honestly overwhelming because we had SO many favorites! The easiest way for us to complete this task was to go through one shelf at a time, then take a break if needed. The kids loved books and needed to pick their favorites. I told them that they needed to pick the books they like, love, and want to leave. We narrowed the books down several times before making our final choices. We did put some books in storage to save, but we also eliminated a LOT of books, which I was surprised about as well.
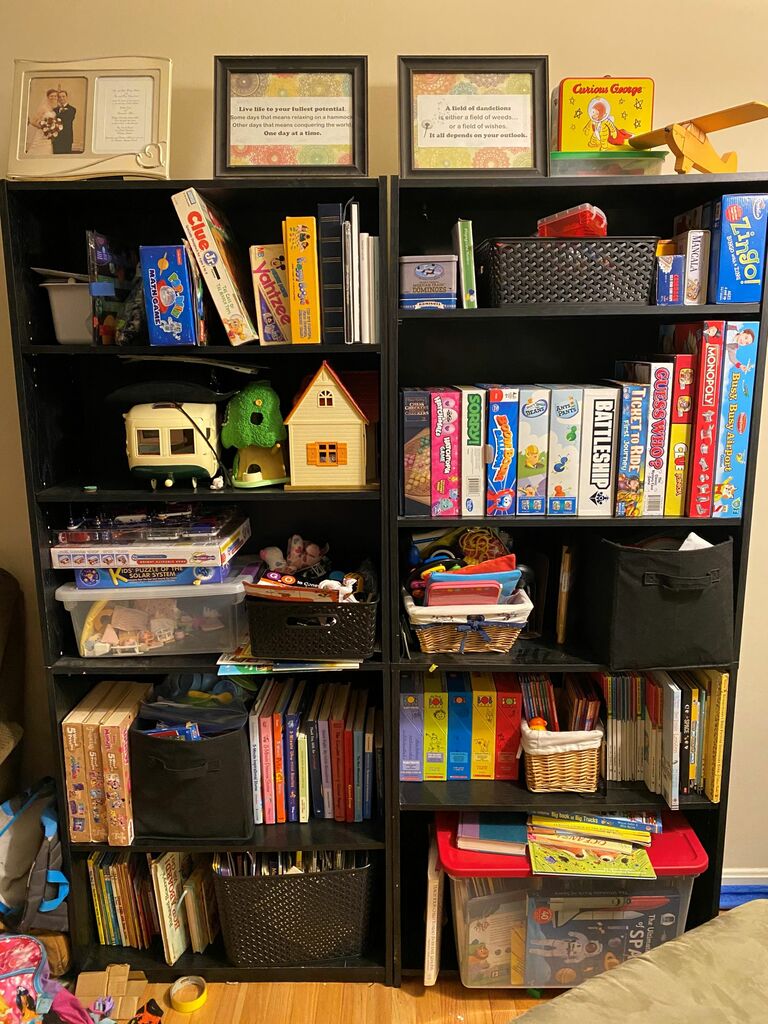
While sorting books, we did have a PAUSE PILE that we kept while we were deciding on favorites. The pause pile eventually was mostly donated, only pulling out a few books the kids decided they wanted to put in storage instead of get rid of. By working on one project or section of a room at a time, we could incrementally work on downsizing in small bits that would not overwhelm the children, as well as involve them for a small period of time and allow them to take a break when needed.
Teaching the kids to purge along the way has been instrumental in teaching them the things they want and need in their life. I have been surprised at how many times the children seriously contemplate bringing something into their life because they know we have limited space and weight in our rig, as well as how easily they decide they are done with something they have they no longer like, love, or use. This skill is definitely like a muscle that is strengthened over time. The more it is practiced, the easier it gets.
DONE! Get it done.
Completing a large purging project takes time. If you’re on a tight timeline, you may not have the luxury of taking months to purge. Every time we have moved, we have typically had at least a few months to prepare. That being said, I was able to work around the house to downsize as needed over the weeks leading up to the big move. It always feels SO good to see the progress as we prepared to move. I can tell when we are close to finished, because the empty echo I hear in the home gets louder as things are boxed up.
Another idea to help while downsizing is the timer technique to help get things done. When the kids were more experienced at purging, we set a timer for ten to fifteen minutes then we would take a break. The timer technique is also helpful for adults and I recommend working for forty-five to sixty minutes before taking a mental break, getting a snack, or grabbing a water to refresh and give yourself a chance to regroup before diving back in. Additionally, most people hit decision fatigue around two hours of consecutive work time, so keep this in mind to give yourself the breaks you need to work through your project. You might decide you want to work for around an hour or two in the morning, then move on with your day, then come back later after lunch for another session. Purging takes time and energy, both mental and physical, so make sure to give yourself the ability to work through things at a pace that works for you.
As you get one project or room in your home downsized, stop and celebrate the win, which is incredibly important in a big project to give yourself the credit for the hard work you’ve done. Taking a moment to breathe after completing an area in your home will also give you time to rejuvenate. Revel in your accomplishment! Remember that your home did not get this way overnight and it will take time to get things done, but keep working on it and you will succeed! Running a race is one step at a time, just like downsizing. Keep your focus on the finish line and keep working towards that goal of completion. I believe in you; YOU CAN DO THIS!
Have you used my 3-2-1-DONE! method? How did it work out for you?
Signing off,
-BG Barnstormer